先稍微記錄一下,整體建置與工作流程:
- hugo官網找喜歡的theme(https://themes.gohugo.io/)
- 選擇使用Stack(https://themes.gohugo.io/themes/hugo-theme-stack/)
- 作者github裡面有教學,可以直接clone代碼匯入我的github repositiry
- 新repositiry名稱使用:github帳號id.github.io
- git clone代碼到本機,hugo server執行看看,打上http://localhost:1313,就能直接看到頁面效果
- 修改手機版無法看到大綱toc問題(直接複製貼上裡面四個檔案到相對的目錄中)
- 網站左邊menu 透明漂亮icon使用,svg檔製作
- 參考網站(https://tablericons.com/)
- 網站左邊page新增與修改
- 色碼表,網站各處顏色更改會用到
- 開始優化美化頁面
- 添加網站底部顯示發表xx文章、本站運行xx天、本站總訪問量xx次功能
- 修改文章description描述字體大小,縮小(在article.scss裡面的.article-subtitle)
- 添加disqus評論功能
- 添加channel.io頁面即時聊天功能
- 以上在本地修改與美化頁面功能驗證完畢後,將代碼推送到github中
- 使用github workflow建立自動發佈gh-pages branch功能
- 網頁測試打(https://github帳號id.github.io),網站是否呈現
- 購買domain name,我使用cloudflare(https://dash.cloudflare.com/)
- 購買domain name
- 更新DNS記錄,設定CNAME,名稱blog,內容github預設pages頁面網址(github帳號id.github.io)
- 啟用http強制轉到https
- 將github pages自訂網域名
- 至github專案中,Settings->Pages->Branch選擇gh-pages分支
- Custom domain->設定已註冊的domain name(blog.goldfishbrain-fighting.com)
- 網頁測試打domain name,網站是否呈現(https://blog.goldfishbrain-fighting.com/)
- google-search-console添加
- 會需要驗證網站擁有權,將google提供檔案放置網站根目錄下(static/googlexxxxxx.html)
- 添加sitemap,好讓google幫我們產生索引,後續才能夠過google瀏覽器,搜尋到我的網站(可能會需要好多天,才能完成)
- google-analytics添加
- 好讓後續可以分析網站使用狀況
- 以上就完成了使用hugo在github架站
- 後續新文章撰寫,我是使用obsidian撰寫文章
- 使用template功能,寫文章時,快速插入front matter
- 如果categories有新增,記得要先去categories目錄新增出來
- 如有快速貼上圖片,圖片記得改檔名,因為會有空格,網站會無法正常辨識路徑和檔名
- 撰寫文章完畢,使用obsidian git插件,直接使用快捷鍵ctrl+p叫出命令面板,執行Commit all changes、Push就能將文章推送到我的github中
- github接收到commit,就會自動使用workflow幫我佈屬gh-pages
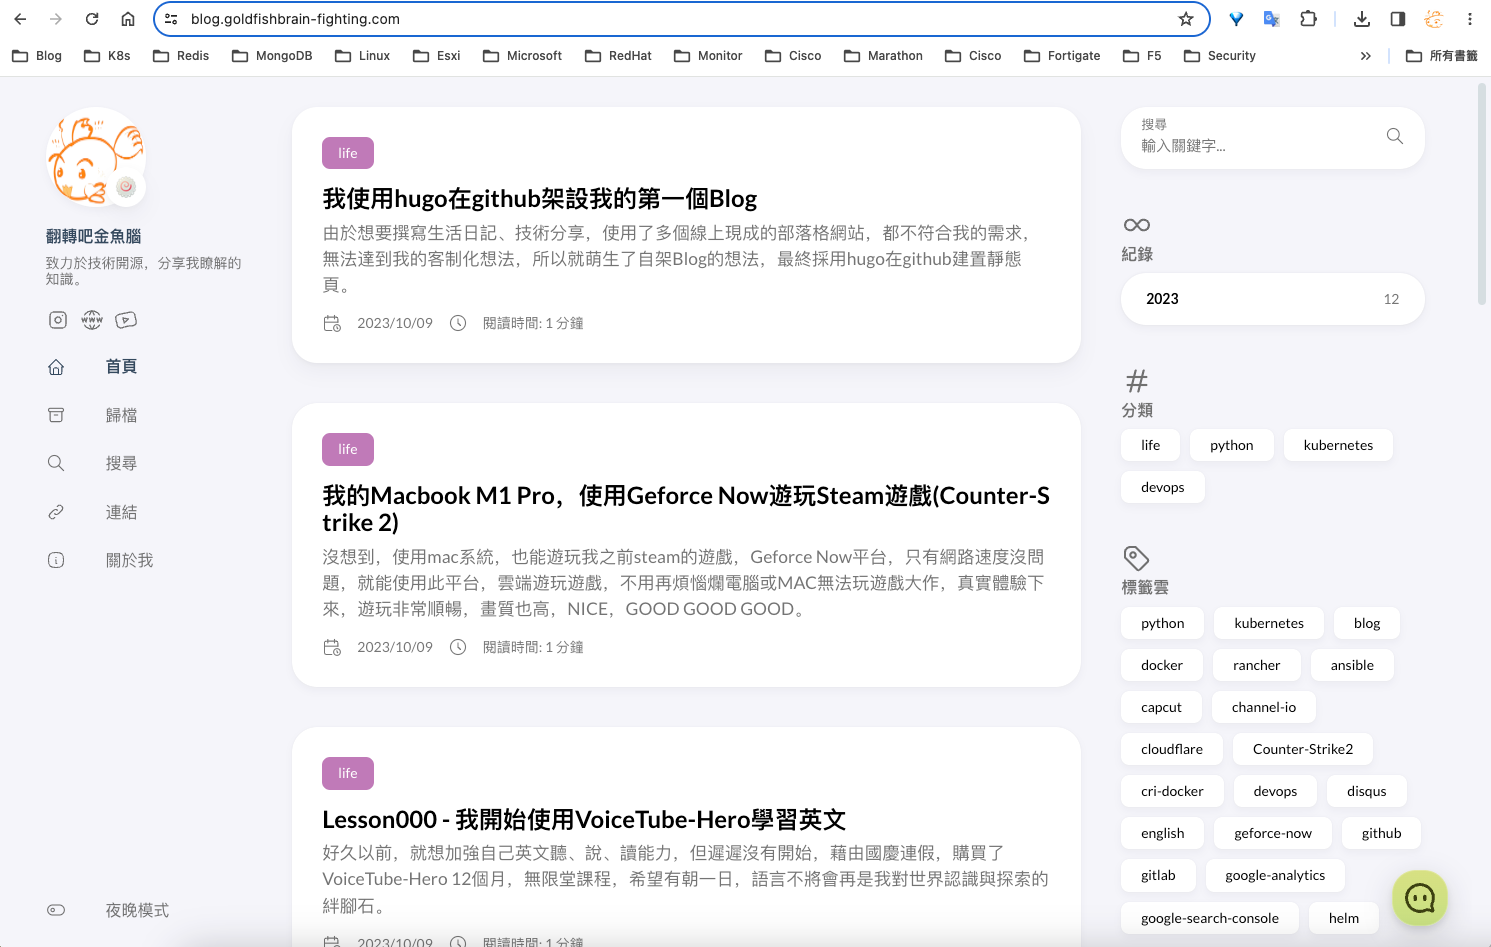
- 以下就是網站呈現的樣子